November 8, 2010

Authentic Steak Tacos


In my previous post, I brought you my recipe for Horchatta.  Today, I am finalizing that entry with Part 2 - my recipe for authentic steak tacos.  Now, usually when you hear the world 'authentic' sometimes you automatically think 'complicated'.  Well, don't fret - b/c these are so very easy, you could probably prepare them with your eyes closed...although I don't recommend doing it that way!


Here is what you need..
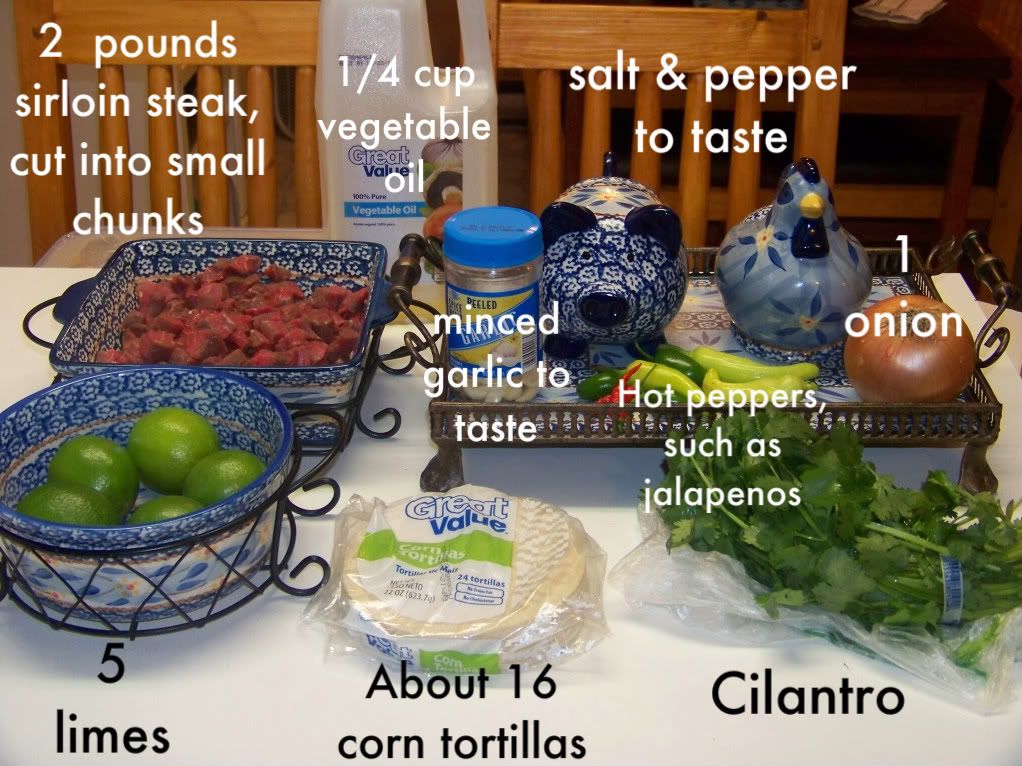


Marinate your cubed sirloin steak in the juice of 3 limes for at least an hour.


When you are almost ready to cook the meat - chop your cilantro, hot peppers, & onion - and slice the remaining limes into wedges.  Place the chopped toppings into individual bowls.  (In case you are wondering, there is leftover cucumber avocado salad in the small oval dish from the night before)


Cook the steak & minced garlic in a hot skillet until done - about 5 minutes.


Transfer the meat to a plate or other vessel & keep warm in an oven preheated to 200 degrees - or place in a warming dish as I did.  


Fry the corn tortillas in a hot pan with a few tablespoons of vegetable oil, adding more oil as needed.  They only need to cook about 1 minute on each side - when you notice them starting to 'puff' a little, it's time to flip.  Keep the finished tortillas warm in the oven while the rest are cooking.


I like to make a 'taco bar' when I'm serving these - with all the toppings lined up for everyone to serve themselves.


Top the corn tortillas with the cooked steak, diced onions, peppers, & cilantro - and squeeze on a little lime.  Fold over, or wrap, & eat them all up!


Authentic Steak Tacos


Ingredients:
  • 2 pounds top sirloin steak, cut into small chunks
  • salt and pepper to taste
  • minced garlic to taste
  • 1/4 cup vegetable oil
  • 16-20 corn tortillas
  • 1 medium onion, diced
  • 4 fresh jalapeno peppers (or other hot peppers), seeded and chopped
  • 5 limes
  • 1 bunch fresh cilantro, chopped
Instructions:


Squeeze the juice of 3 limes onto your chopped meat, and let the meat marinade for at least one hour.

Heat a large skillet over medium-high heat. Fry the steak chunks & minced garlic, stirring constantly, until browned on the outside and cooked through - about 5 minutes. Season with salt and pepper. Remove to a plate and keep warm.

Heat the oil in the skillet, and quickly fry each tortilla on both sides, until lightly browned and flexible. Set aside, and keep warm.  Don’t over fry - they only need about a minute or less on each side.

Top corn tortillas with steak, onion, jalapeno, and cilantro to taste. Squeeze lime juice over. Wrap and eat.

November 5, 2010

Horchatta


Years ago, my family was invited over for dinner by a Latino man named Julian that my husband worked with at the time.  We accepted, of course, and headed out to their house for some grub & good company.  I was expecting Mexican dishes, but at that time in my life, I thought that Mexican food was what you got in the drive-thru at Taco Bell.  When it was time to eat, I was expecting hard taco shells with ground beef & refried beans.  Boy, was I deliciously wrong!  What we had for dinner just shot what I thought real Mexican food was right out of the park.  They served us real tacos, tamales, & horchatta.  I had not even heard of tamales & horchatta until then, and their tacos were SO much different than what I was accustomed to.  I raved & raved about how GOOD it all was.  We came over quite a few times for meals after that, and I was always ecstatic when we received an invite.  They eventually moved away, and even though I missed them - I have to admit that I missed those meals almost just as much!  I just HAD to recreate them!


Over the years, I have perfected my take on those lovely authentic dishes we were served.  Today, I bring you my recipe for Horchatta - and in my next entry, I will be posting part 2 - Steak Tacos!  If you have never had Horchatta before, you are missing out on the finest thing in life.  Well, maybe not the finest.... But, it's still great! 


Let's start with the Horchatta!  


Put the uncooked rice, cinnamon sticks, & 2 cups of the water into a blender & blend until the rice & cinnamon sticks are roughly ground - about 1 minute.  You can also use ground cinnamon, but it does change the texture of the horchatta & the flavor isn't quite as strong.


Pour in the remaining 3 cups of water & blend for another minute or two.  Let the rice water sit on the counter at room temperature for AT LEAST 4 hours!


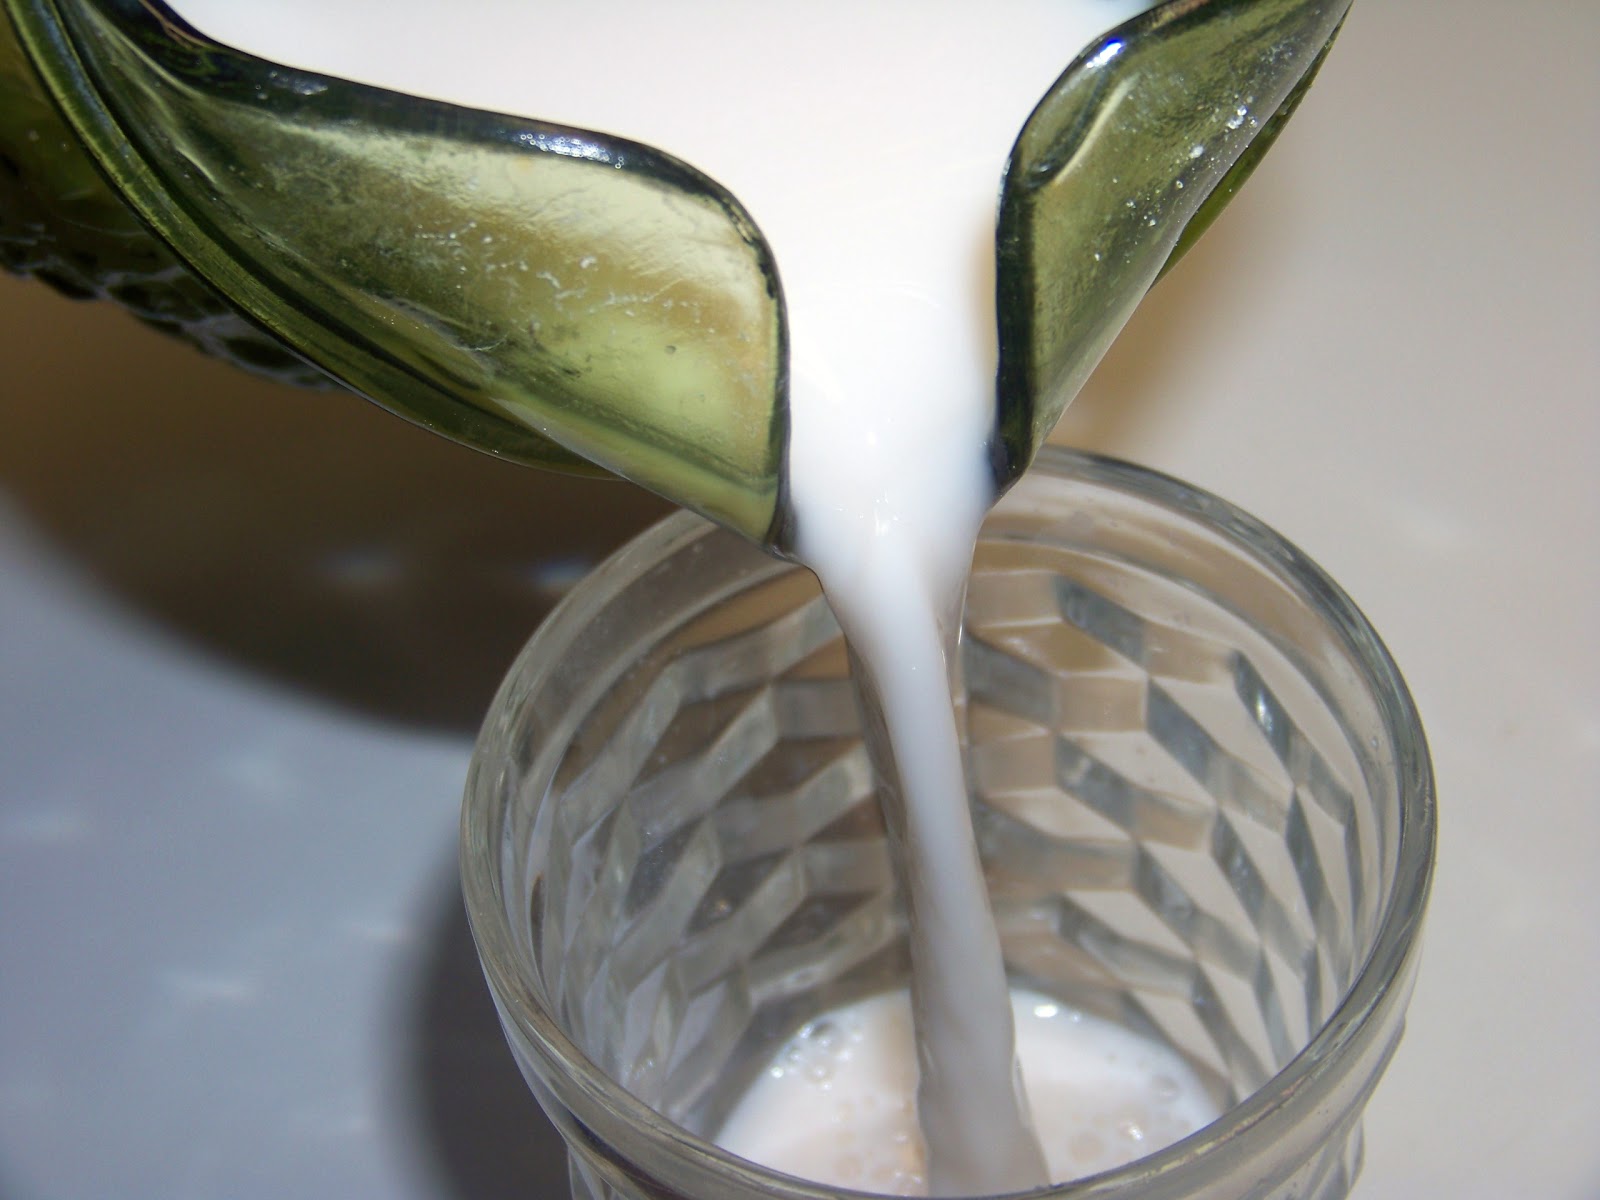
After it has sat out for the recommended time, pour the rice water through something like a sieve, cheesecloth, or flour sifter to separate the liquid from the solid.  Discard the solids.


Pour in the sugar, vanilla, & milk - and give it a good stir.


Let it chill for a few hours in the refrigerator to get nice & cold.  Make sure you stir the Horchatta before serving!


This makes about 6 regular glasses - you can always double the measurements to make more.


Horchatta


Ingredients:
  • 1 & 1/3 cups uncooked white rice
  • 5 cups water
  • 1 & 1/2 cups milk
  • 1 teaspoon vanilla extract
  • 2 cinnamon sticks
  • 2/3 cup white sugar
Instructions:


Pour the rice, cinnamon sticks, and 2 cups of the water into the bowl of a blender.  Blend until the rice & cinnamon is roughly ground, about 1 minute. Pour the remaining 3 cups of water in & blend for another 1-2 minutes.  Let sit at room temperature for a minimum of 4 hours.

Strain the rice water into a pitcher and discard the solids.  Stir the milk, vanilla, cinnamon, and sugar into the rice water. Chill and stir before serving.

November 4, 2010

Chocolate Truffle Pie


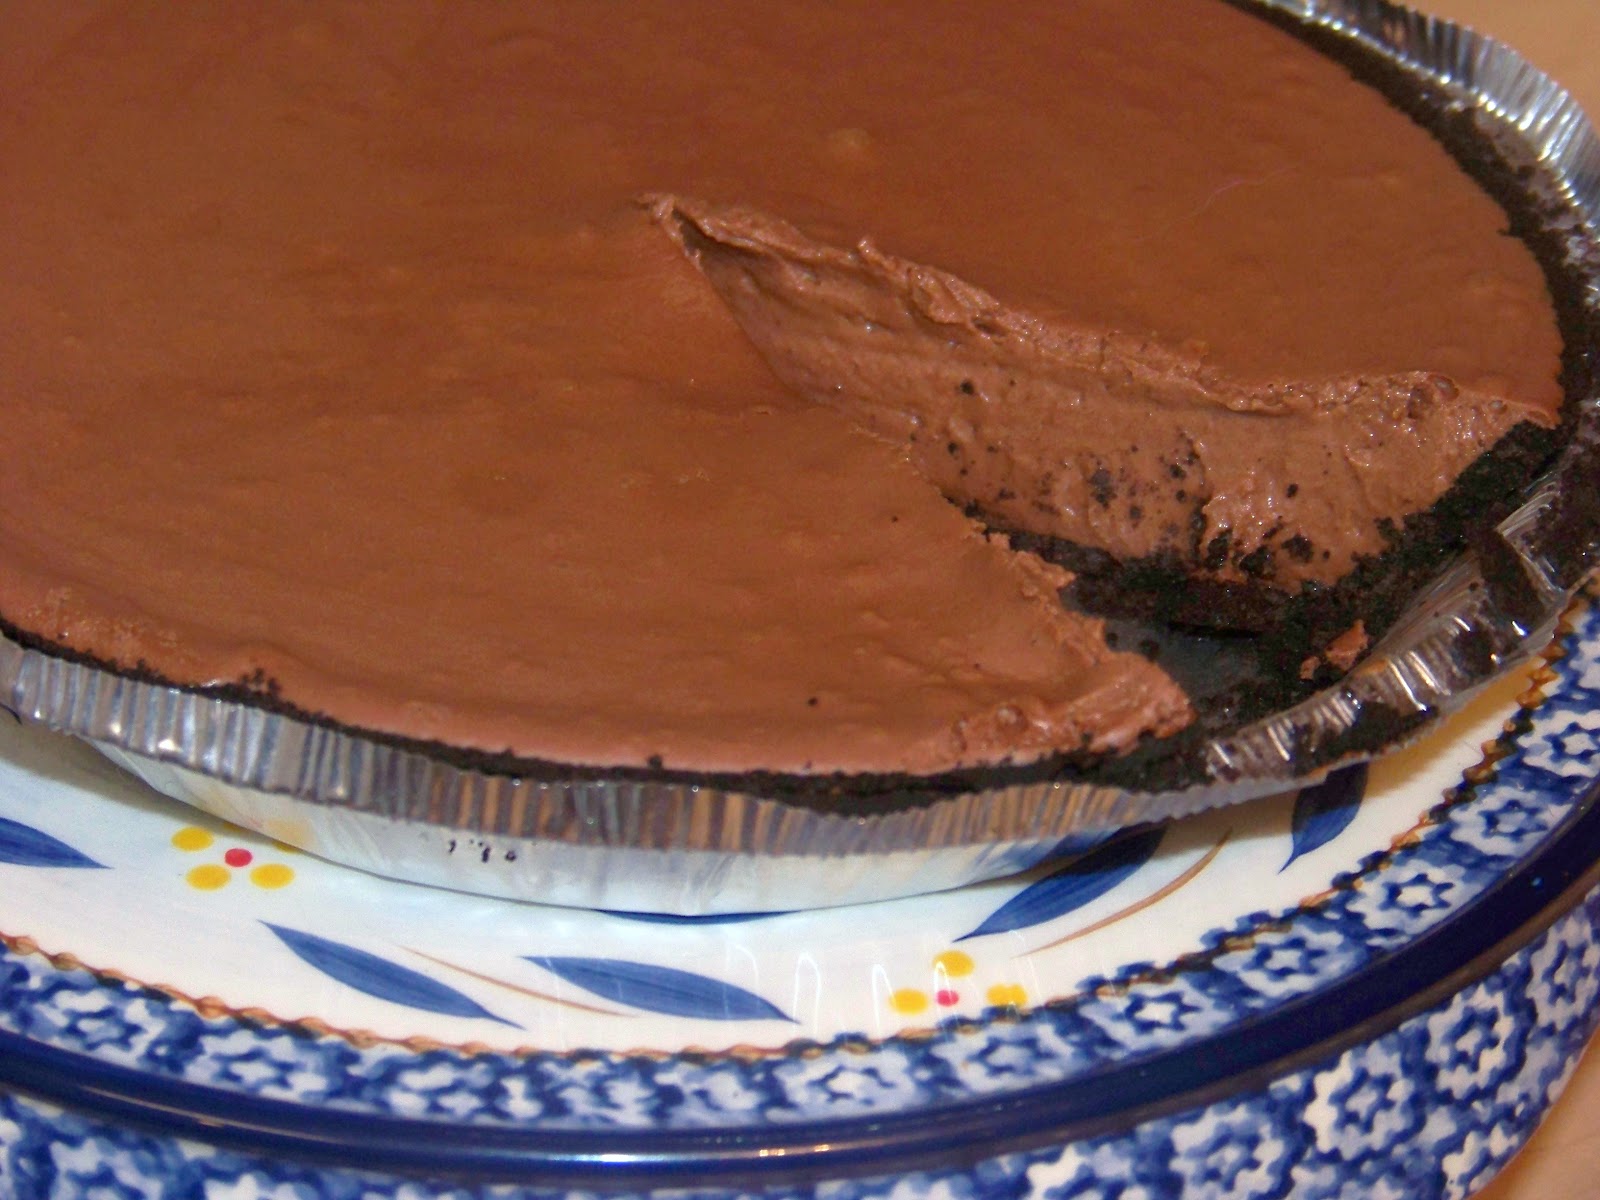
Last night, I just couldn't sleep for the world.  I finally gave up, & got out of bed to find something to keep me busy while I waited for that sleepy feeling to hit me.  I turned on the television & found that one of my favorite movies, 'Hairspray' was on television.  Something about John Travolta as a woman just cracks me up every time!  I'm not one to just sit down & watch a good movie though.  I have to be doing something!  So, I looked around the kitchen to see what I had on hand, and what I could make with it.  Grocery day is tomorrow though, so what we have on hand is very limited until then!  After pondering for a few minutes, it hit me.  Chocolate Truffle Pie!  It requires very little ingredients, and those ingredients are usually ones that I have on hand.  Plus, along with being incredibly rich & tasty - it's quick!  You with me on this one?   


Here is what you need.  (Click on the picture if you need a larger image)


In a medium, microwavable bowl - combine the chocolate chips & 3/4 cup of cream.  Microwave in 30 second increments stirring each time, for a total of 2 minutes.  Whisk until smooth.


Cool the chocolate cream mixture for about 10-15 minutes for it to come to room temperature.  Stir in the vanilla & sifted confectioners sugar.


In a separate bowl, beat the remaining cup of heavy whipping cream until it forms a soft peak.  Beat in the chocolate mixture 1/3 at a time on high speed.  Pour into the pie crust.


Refrigerate for at least 8 hours before serving.


Chocolate Truffle Pie


Ingredients:
  • 3/4 cup semisweet chocolate chips
  • 3/4 cup milk chocolate chips
  • 1 3/4 cups heavy whipping cream
  • 1/3 cup sifted confectioners' sugar
  • 1 teaspoon vanilla extract
  • 1 (9 inch) prepared chocolate cookie crumb crust
Instructions:

In microwave dish combine all the chocolate chips and 3/4 cup of the cream. Cook on high for 1 to 2 minutes, stirring every 30 seconds until smooth, whisking well at the end. Cool to room temperature, about 15 minutes. Stir in sugar & vanilla.

In separate bowl, beat the rest of the cream until soft peaks form. Beat in chocolate mixture on high speed 1/3 at a time. Mix well and pour into crust.

Refrigerate at least 8 hours before serving.

October 31, 2010

Happy Halloween!!

Our town celebrated Halloween on Saturday this year, & the kids had a great time.  They wore their costumes all day - then went trick or treating...followed by a camp out in the backyard complete with a small bonfire & s'mores.  I hope that you all have (or had!) a great Halloween too!
 

.

--> Related Posts Plugin for WordPress, Blogger...